Adding Pages to Your Store
Follow these steps to add pages to your Storeino store.
Storeino ecommerce academy : Add pages to your store
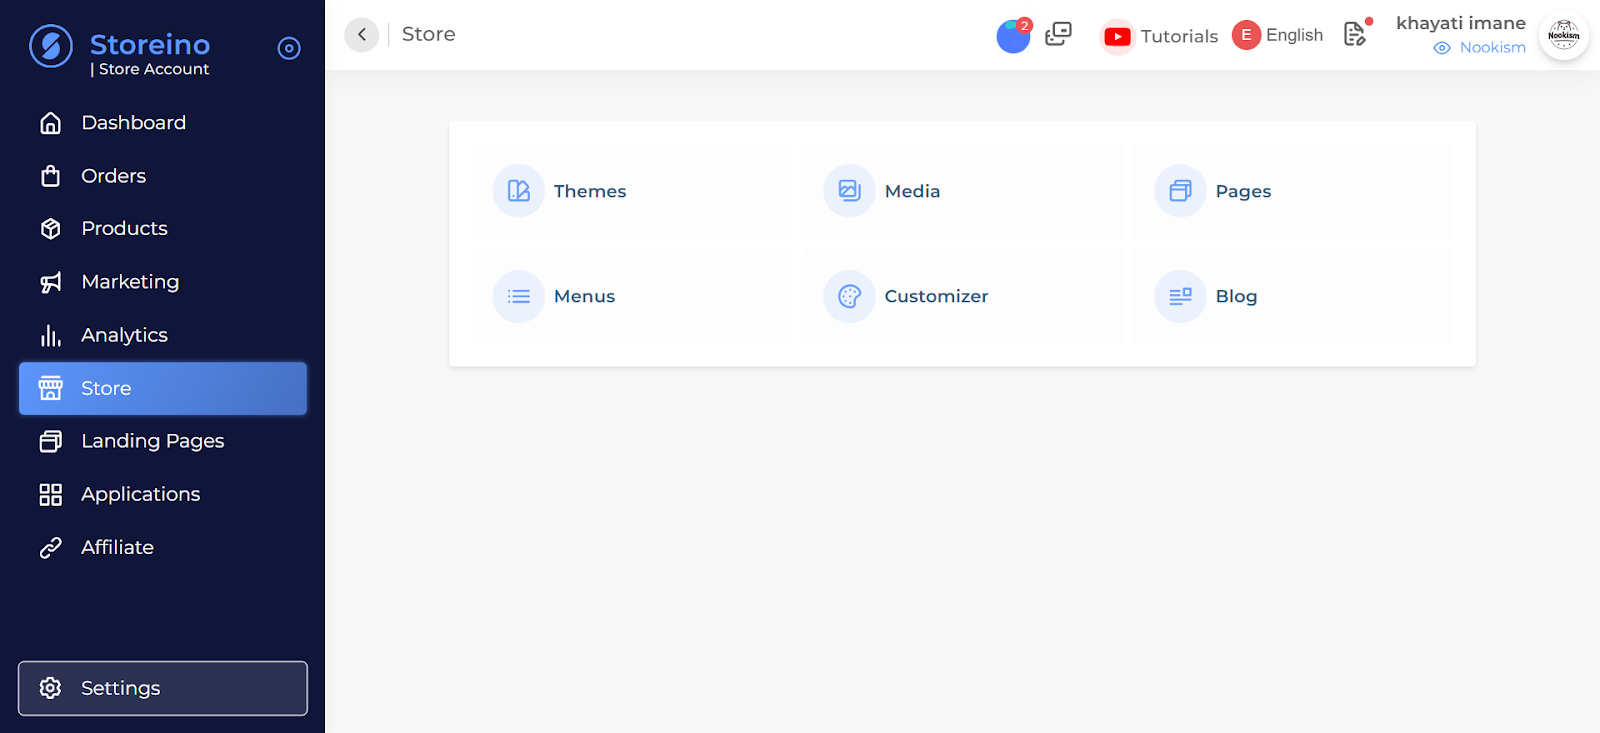
Step 1: Navigate to the Store Section
- In your store dashboard, go to the “Store” section.
- Click on “Pages”, and then click on “New Page” to create a new page for your store.
Step 2: Enter Page Information
- The new page will have two main sections:
- Page Information: This section includes the title, URL, status, and optionally a picture.
- Page Content: This is where you will add and style your page’s content.
- Set the Page Title: Enter the title of your page.
- The URL is automatically generated from the title, but you can edit it if needed.
Step 3: Set the Page Status
- You can set the status of the page to “Publish” to make it visible on your store.
- Add a picture (optional), which will be previewed when the page link is shared on social media.
Step 4: Add Page Description
- Enter a description for the page, which can provide more context or details.
- You can use demo text as a placeholder if needed.
Step 5: Customize Page Content
- Use the available tools to customize your page content.
- You can access additional customization options by clicking the three dots for more tools.
- You can access additional customization options by clicking the three dots for more tools.
- Add images or videos to enhance the page.
Step 6: Confirm and Save the Page
- Once you have completed the page information and content, click “Confirm” to save and add the page to your store.
- 2.3.1. Adding “About Us” and “Contact Us”
If you have information that you want your customers to know about that won’t change often, for example, details about your organization or the contact information for your store, then you can create pages for your store to give that content a permanent location.
Be descriptive and clear when choosing your webpage title. The webpage title is displayed in the tab or title bar of browsers. It is also used as the title in search engine results.In the Visibility field, you can choose whether you want your webpage to be published or not. By default, your new webpage will be visible when you tap Save.
Optional: If you want your new webpage to be hidden from your online store, then select the Hidden option, or tap Set visibility date to control when your web page is published.
Tap Save.