Adding a Menu and Links
You need a menu and links to help your customers to explore your store. Follow these steps to create and add a custom menu to your Storeino store.
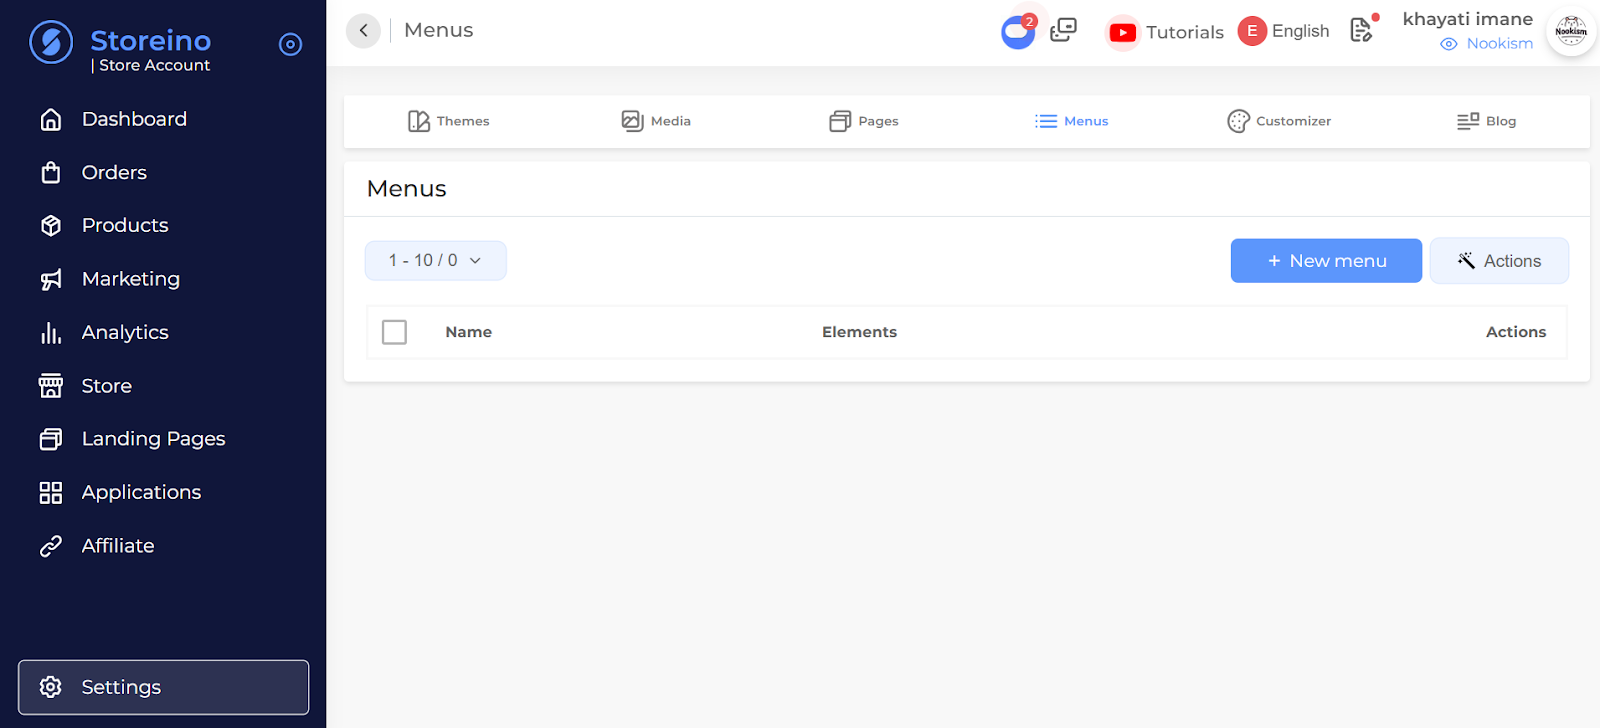
Step 1: Navigate to the Menus Section
- Go to the “Store” section in your store dashboard.
- Click on “Menus”, then select “New menu” to start creating a new menu.
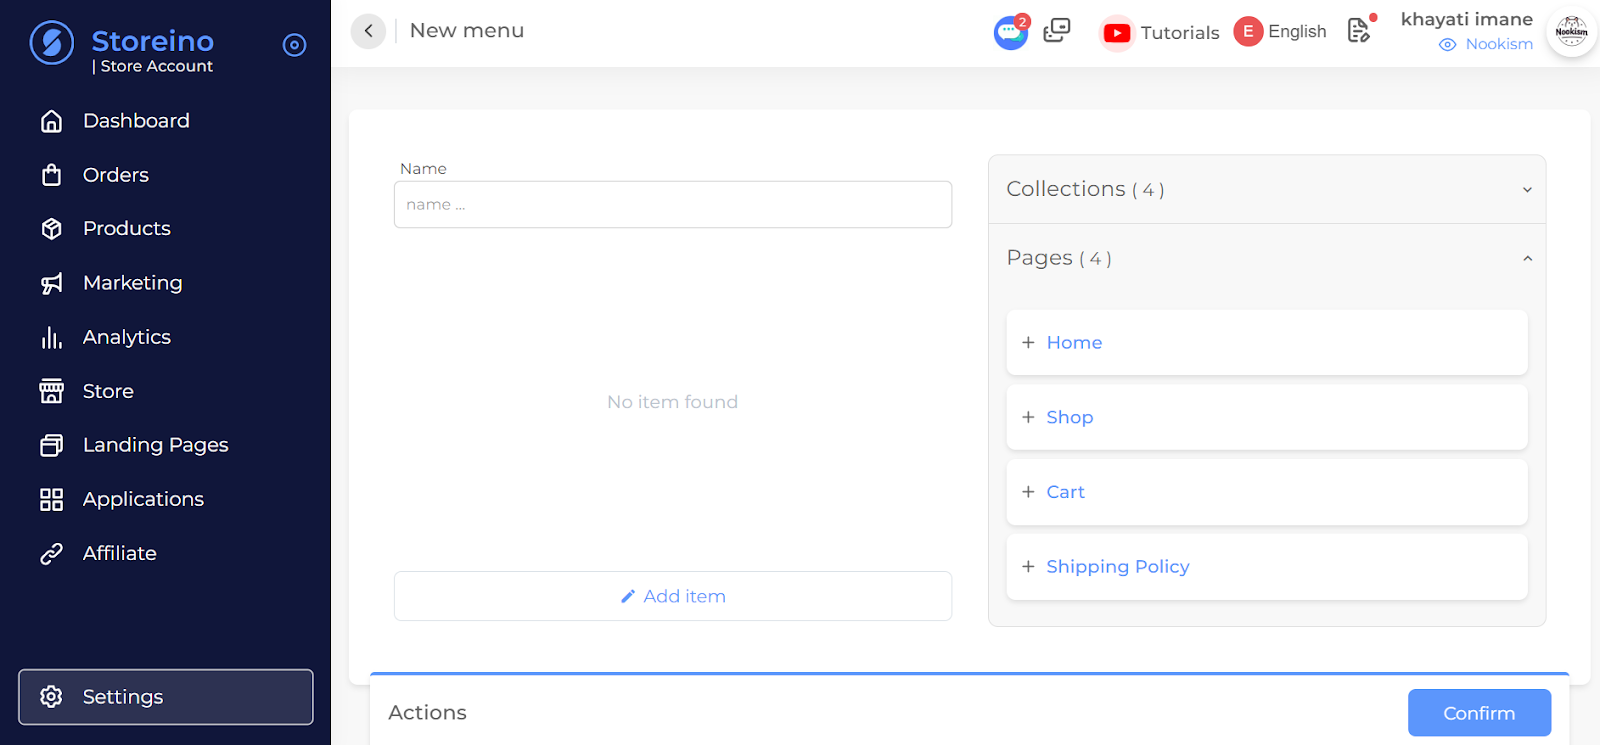
Step 2: Name the Menu and Choose Menu Items
- Give your menu a name.
- Select the items that you want to include in the menu, such as pages and collections.
- Choose pages like Home and Shop, and collections like Cosmetics and Skincare.
You can categorize items under a collection, like putting certain products under Cosmetics.
Step 3: Add Custom Menu Items
- To add a new item to the menu, click “Add item”.
- Give the new item a name and create a link for the item. Make sure the link starts with a slash (/) to correctly format the store’s URL.
Step 4: Set Up Link Destination
- If the item has a link from another page, you can drag and drop the link into the link field.
- Choose the target destination for the link:
- Blank: Opens the link in a new page.
- Self: Opens the link in the same page.
Step 5: Save the Menu
- After setting up the menu, click “Confirm” to save your changes and add the menu to your store.
Next steps
After you finish setting up your store, it’s time to choose your store management settings.