Set up a Blog for your Store
Set Up Blog Categories
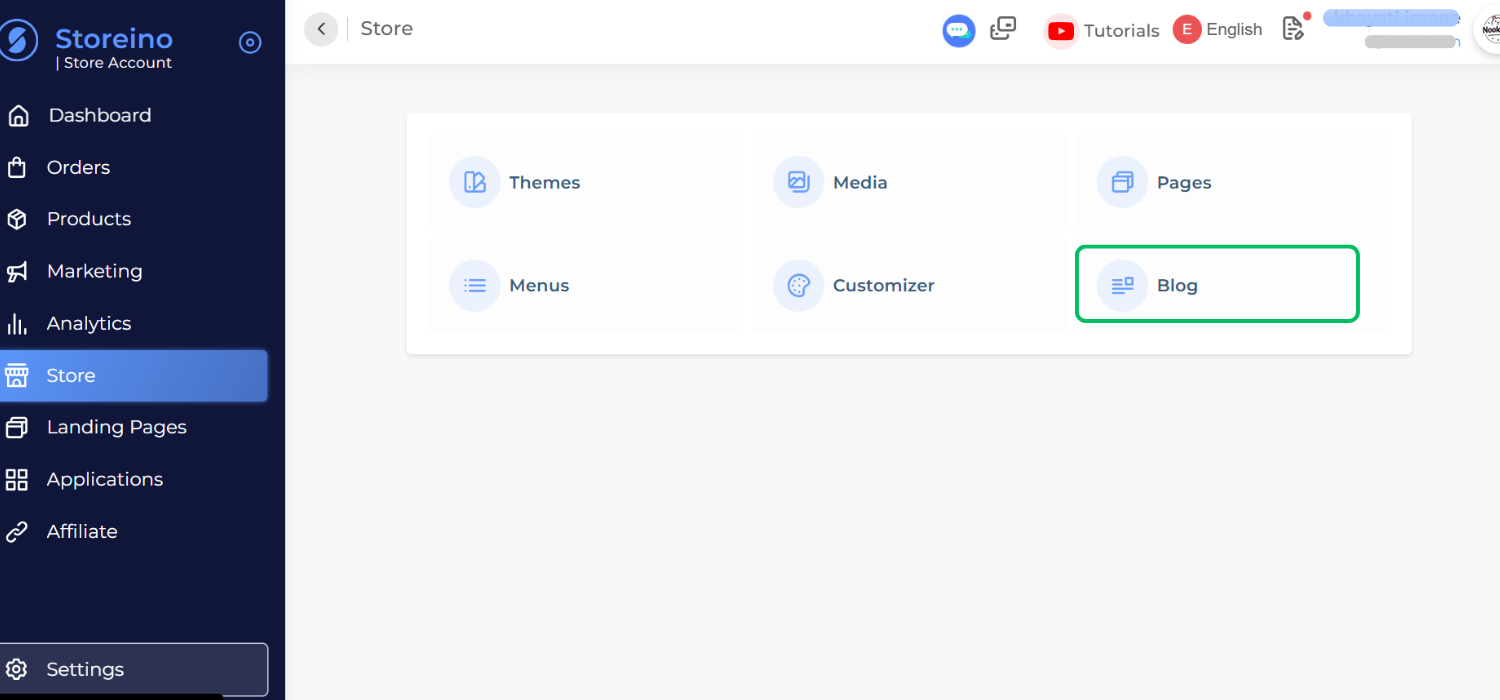
- Access Blog Section:
- From your Storeino dashboard, click on Blog.
- Create a New Category:
- Click on Categories, then select New Category.
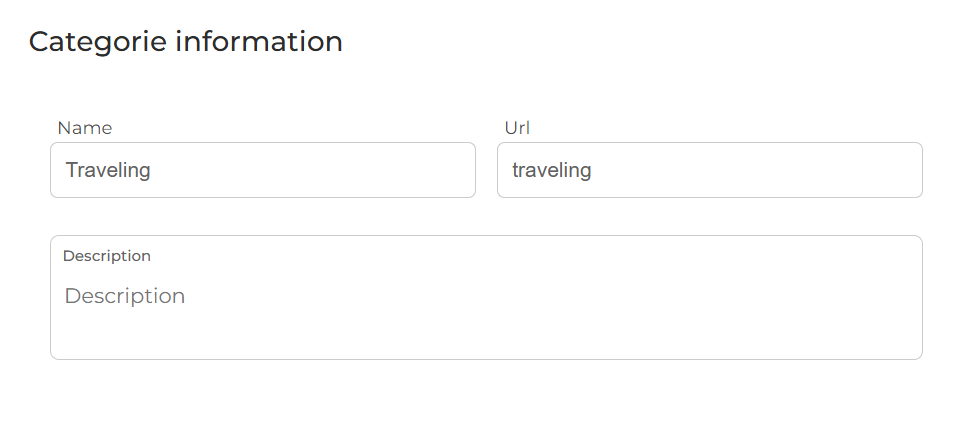
- Fill in Category Details:
- Name: Enter the name of the category (e.g., “Electronics”).
- URL: The URL is automatically generated from the category name, but you can edit it (e.g., “electronics-posts”).
- Description: Add a brief description for the category (optional).
- Confirm:
- Click Confirm to save the category.
2. Add a Blog Post
- Navigate to Posts:
- Click on Posts in the Blog section.
- You will see a list of existing posts (if any). To add a new post, click on New Post.
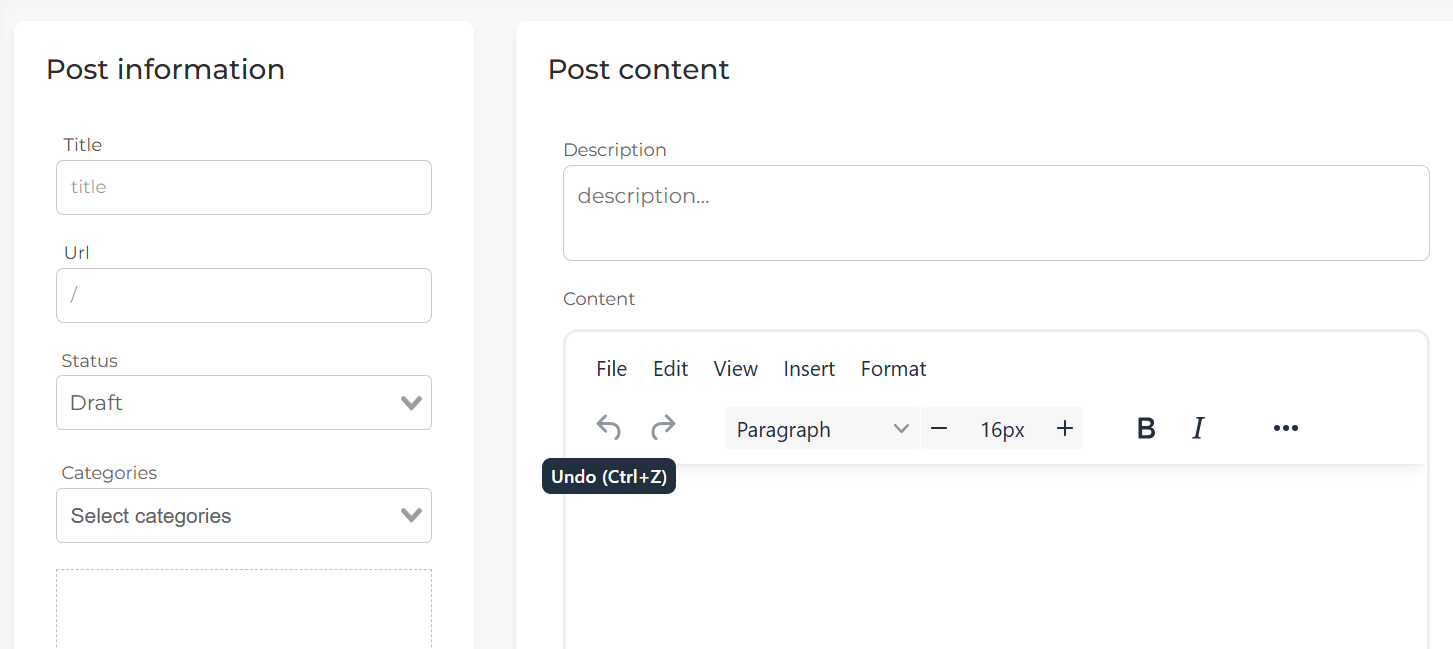
- Fill Out Post Information:
- Title: Enter the title of your blog post.
- URL: This is automatically generated from the title but can be edited.
- Status: Set the post status (e.g., Published or Draft).
- Category: Select a category for the post from the dropdown.
- Image: Upload a featured image for your blog post.
- Add a Description:
- Provide a brief description for the blog post (ensure it is concise to avoid errors).
- Create Post Content:
- Use the content editor to write the main content of your blog post.
- Confirm:
- Click Confirm to save your blog post.
3. View Your Blog Posts
- Preview the Post:
- Once saved, your blog post will appear in the Blog Posts section of your store’s frontend.
- Check Layout:
- Scroll down on your store’s homepage to see the blog section and verify your post is displayed correctly.
Notes
- Ensure descriptions are concise to avoid errors during submission.
- Use high-quality images and engaging content to attract readers.
- Blog posts can help improve your store’s SEO and drive more traffic.