Landing Page Application
Overview
The Landing Page Application is a powerful tool that enables you to create visually appealing and high-converting landing pages for your store. This guide walks you through the steps to install, activate, and customize your landing pages, including adding elements like images, text, videos, buttons, and a checkout system.
Benefits of Using the Landing Page App
- Faster Checkout Process: By reducing the number of steps, customers can complete their purchase more quickly.
- Higher Conversions: The streamlined design encourages purchases, helping to increase your store’s sales.
- Customization: Full control over the look and feel of your landing pages, with no coding required.
Installation and Activation
Step 1: Install the Application
- Go to Applications:
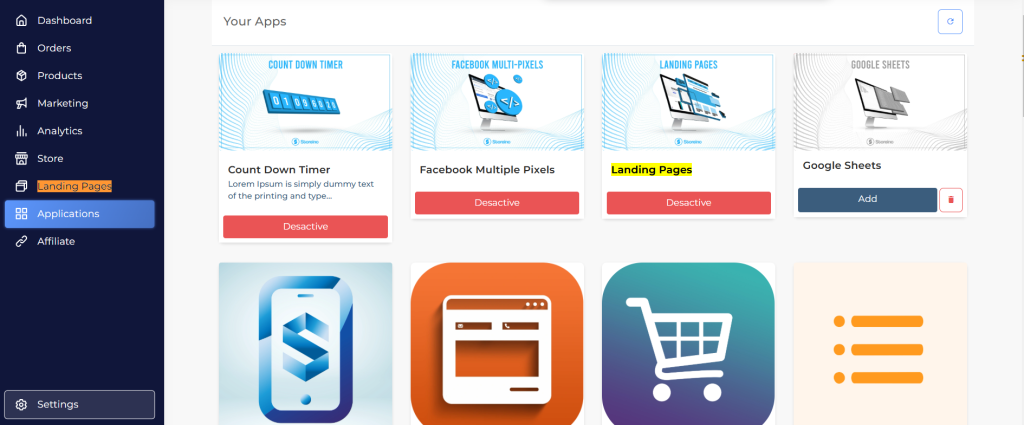
- In your Storeino dashboard, navigate to the Applications section.
- Locate the Landing Page App:
- If the app isn’t listed in your installed apps, search for it under New Apps or visit market.storyno.com.
- Download the App:
- Click on the app, review the details, and purchase for $4/month. Select the basic subscription plan.
- Confirm your subscription.
Step 2: Activate the App
- Activate:
- Once installed, locate the app in your dashboard, and click Activate.
- Open Settings:
- Click on the app to access its settings.
Creating a Landing Page
Step 1: Add a New Page
- Add New:
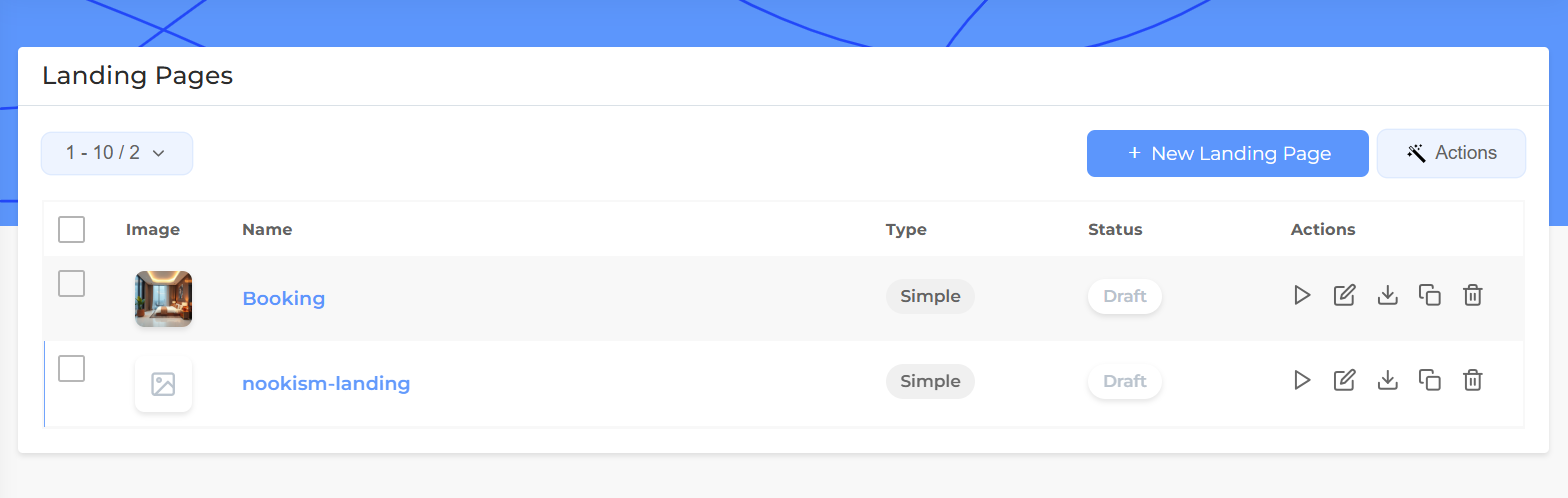
- Click on Add New in the landing page app.
- Set Basic Details:
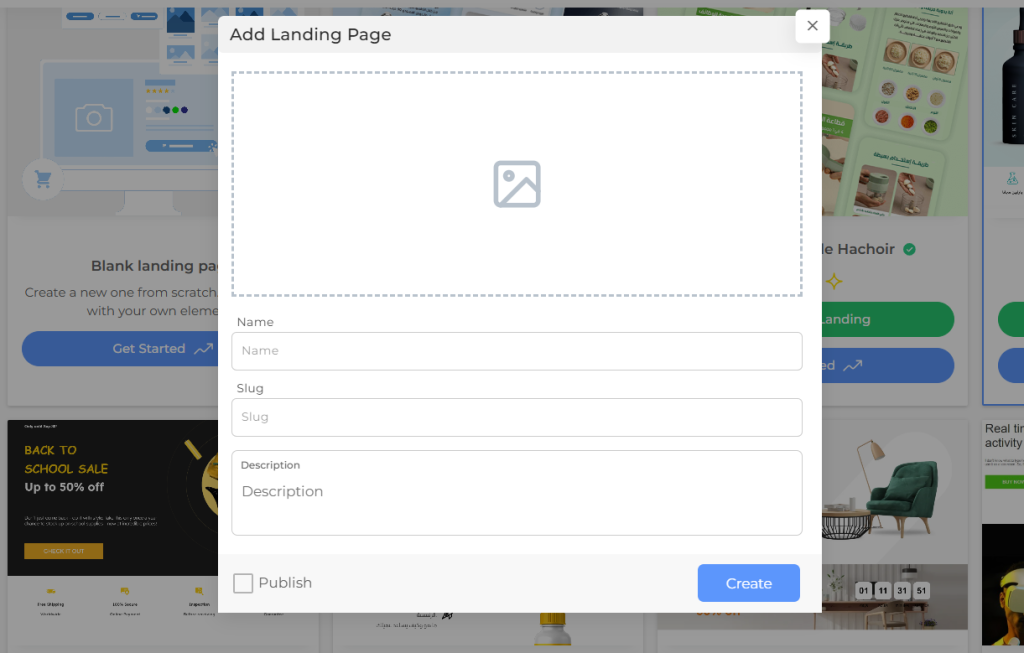
- Image: Upload an image for the landing page.
- Name: Enter the name of your landing page.
- Slug (URL): A unique URL is auto-generated based on the name, but you can edit it.
- Description: Provide a brief description of the page.
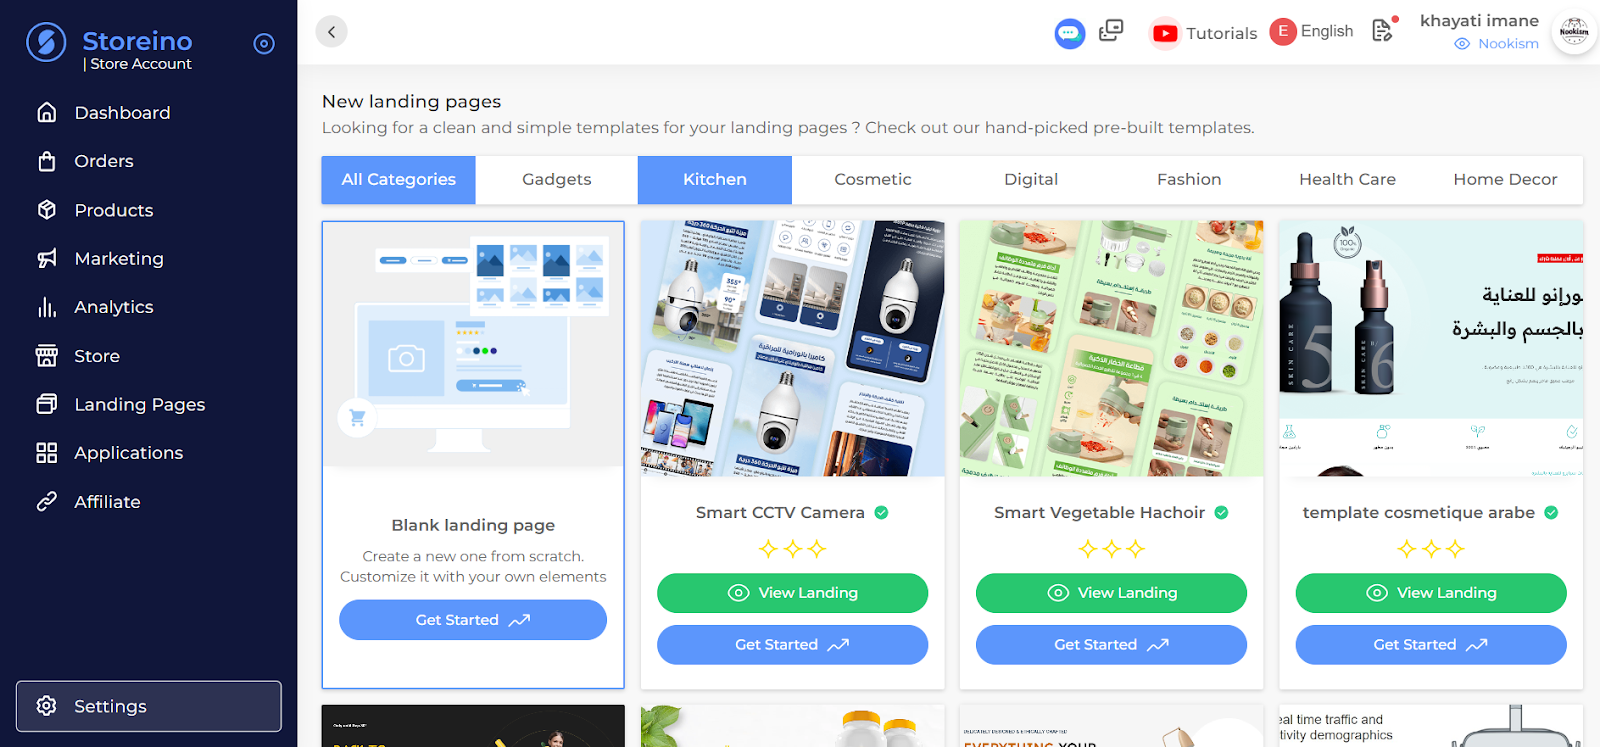
- Choose Template (Optional):
- Select from Arabic or English templates, or start from scratch.
- Publish:
- Enable the Publish option if the page should go live immediately.
- Submit: Save your progress.
Customizing the Landing Page
General Settings
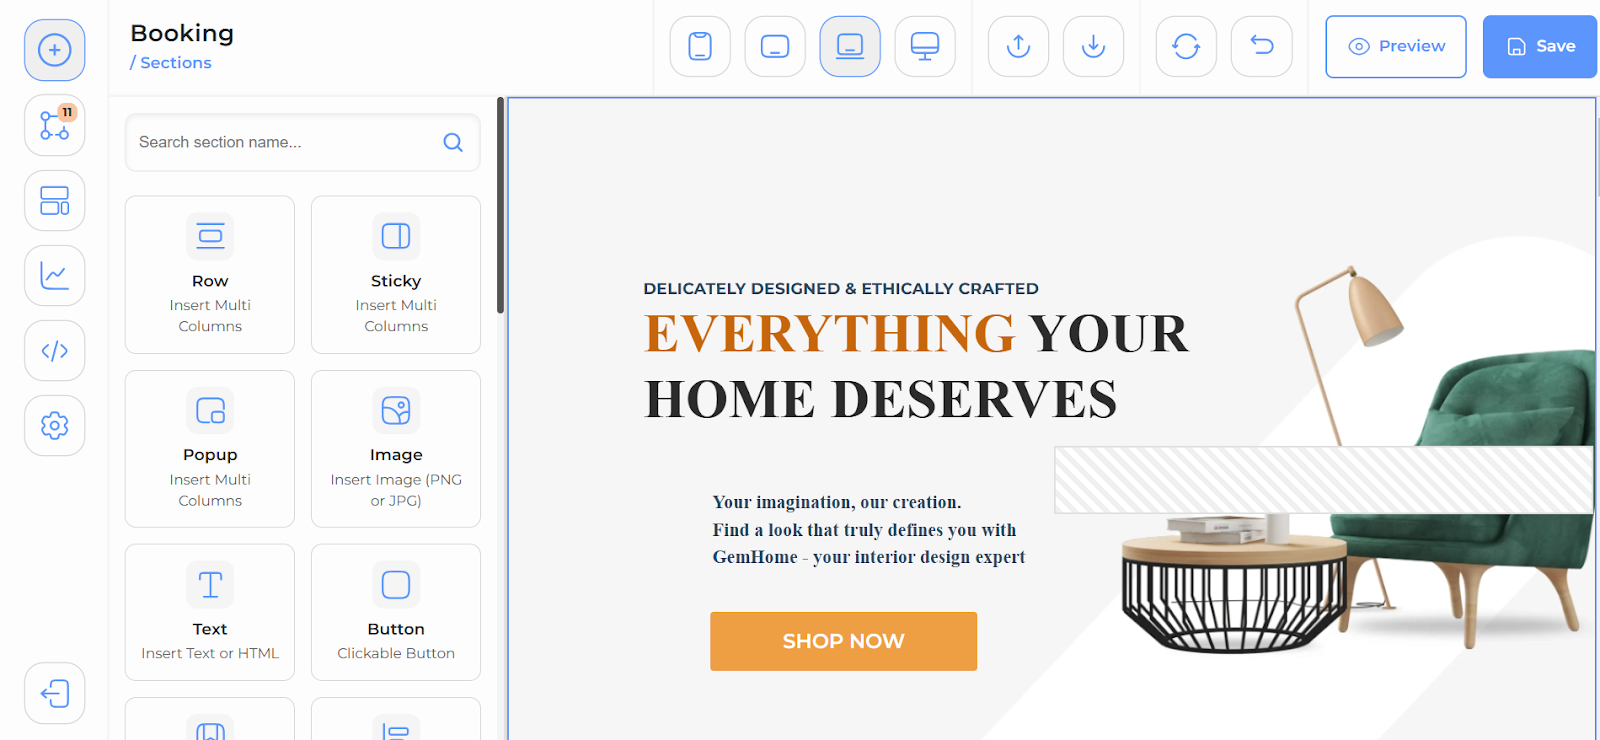
- Access Customizer:
- Click Customize to enter the page editor.
- Preview Mode:
- Toggle between Edit Mode and Preview Mode to review changes in real-time.
Adding Elements
- Click Add Element to insert new components into your landing page. Available elements:
- Row and Columns:
- Structure your page with rows and columns.
- Adjust column size, margins (space outside the element), and padding (space inside the element).
- Set background colors or images.
- Text:
- Add and customize text.
- Convert text into headings for better structure.
- Image:
- Upload or select images.
- Adjust size, radius, and margins.
- Button:
- Add clickable buttons.
- Set text, URL, colors, and styles.
- Video:
- Embed videos using YouTube URLs or other links.
- Configure autoplay and full-screen options.
- Checkout:
- Add a product-specific checkout section.
- Customize thank-you messages and button styles.
- Row and Columns:
Checkout Integration
- Add Products:
- Assign products to the landing page by selecting them in the checkout settings.
- Customize Buttons:
- Modify button styles, background colors, and messages.
- Preview:
- View the final design of the checkout section in preview mode.
Finalizing and Publishing
- Save all customizations.
- Preview the page to ensure everything is working as expected.
- Publish the page.
Key Features
- Intuitive interface: No coding skills required.
- 100% Responsive for All Devices
- Increase Conversion Rates
- Customizable layouts: Add rows, columns, and design elements.
- Seamless checkout: Integrated checkout with product linking.
- Multilingual templates: Support for Arabic and English.